


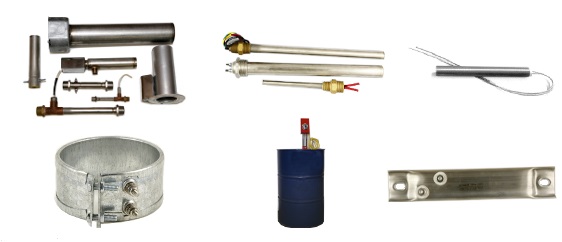
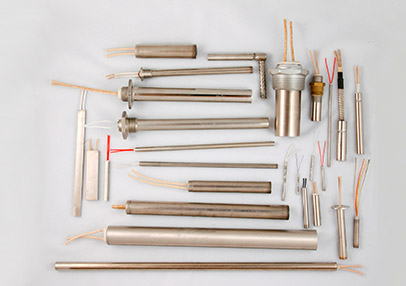
- Cartridge Heaters
- Micro-Cartridge Heaters
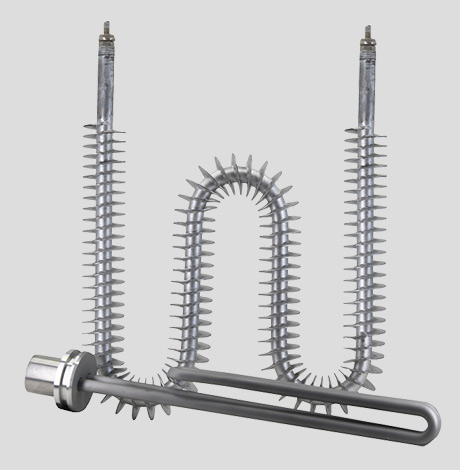
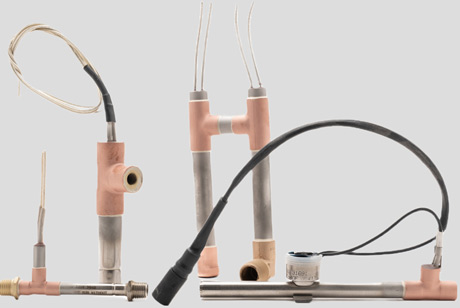
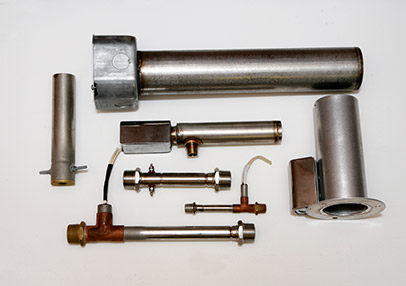
- Air Process Heaters
- Sun Rod Heater
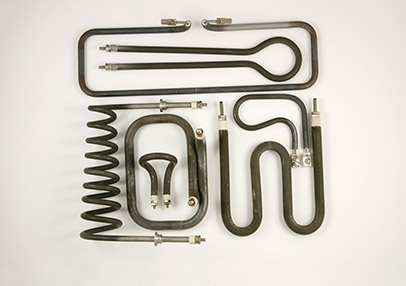
- Tubular and Finned Tubular
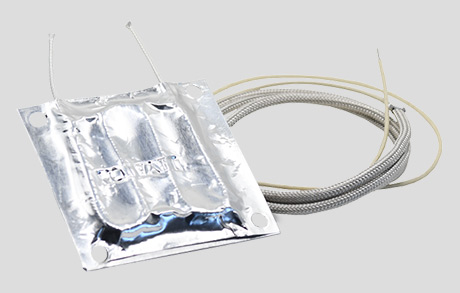
- Glasrope ® & Foil Heaters
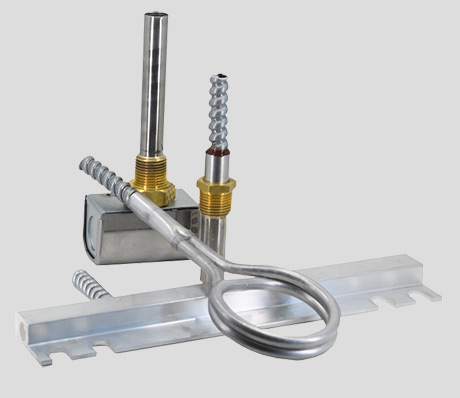
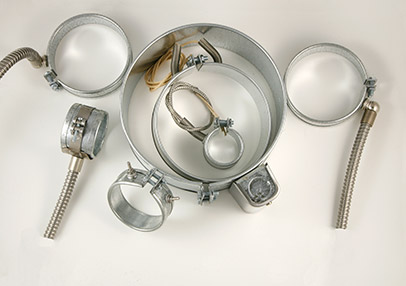
- Crankcase Heaters
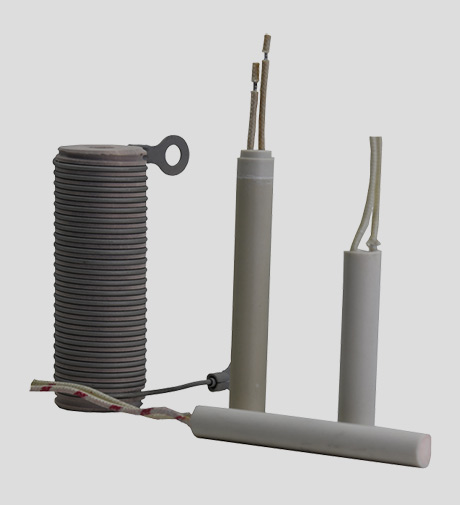
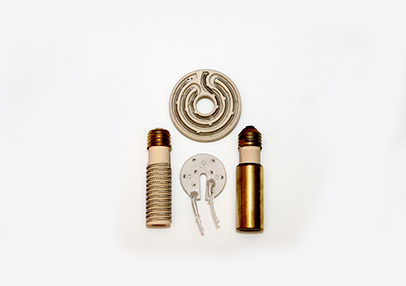
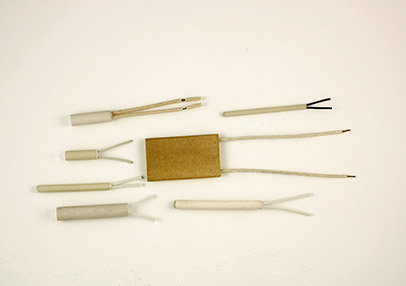
- Ceramic Heaters
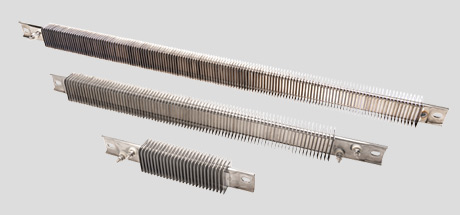
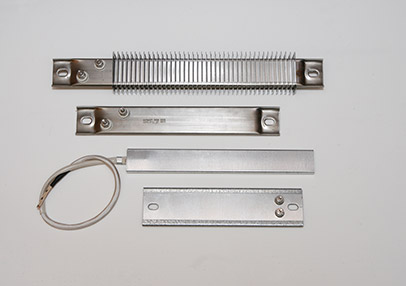
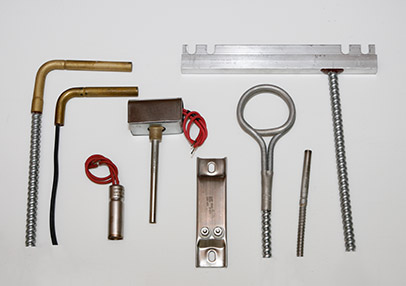
- Strip and Finned Strip Heaters
- Etched Foil and Wire-Wound Heaters
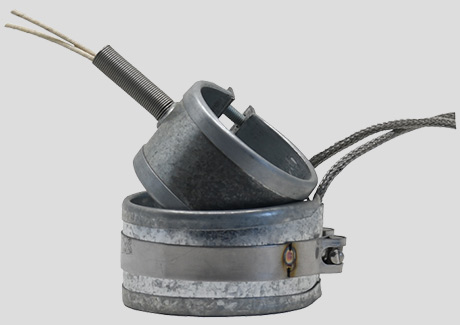
- Band Heaters
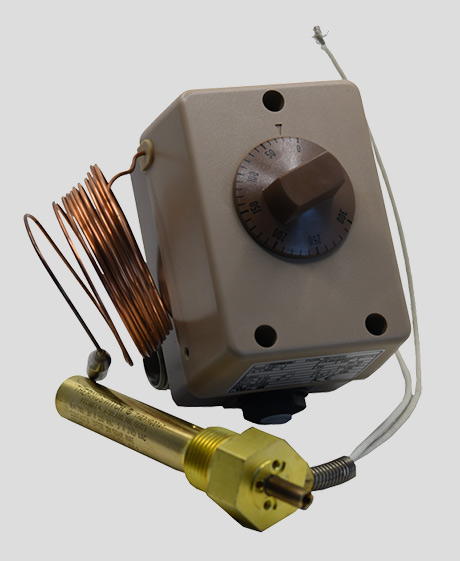
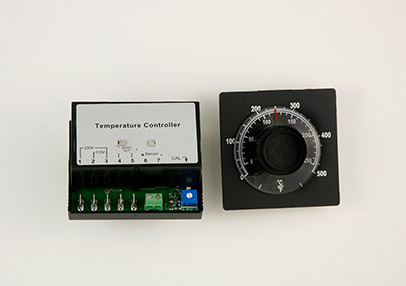
- Temperature Controlling Devices
- Miscellaneous Heaters
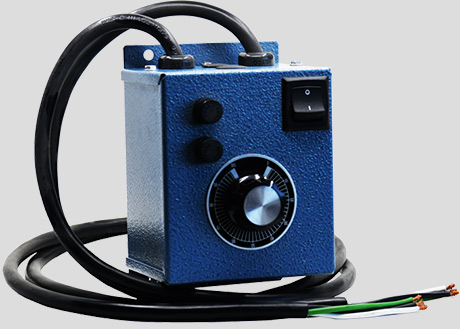
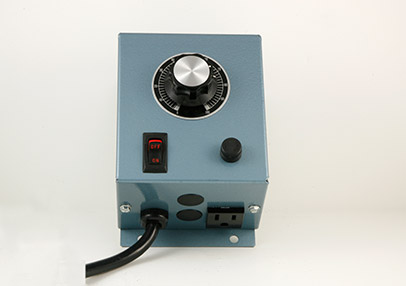
- Voltage Controlling Devices
- Stock Heaters
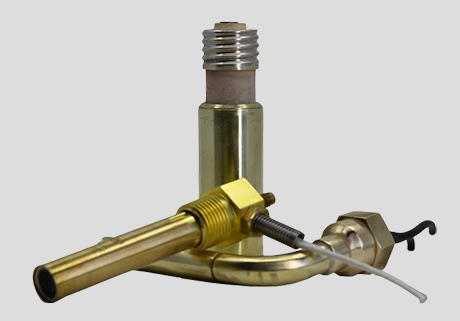
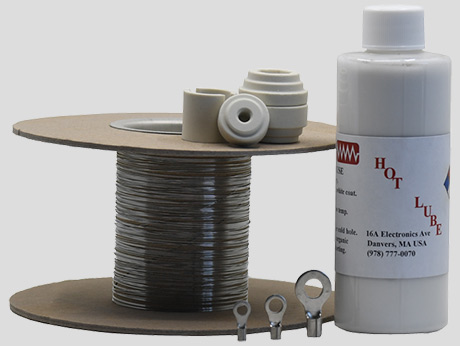
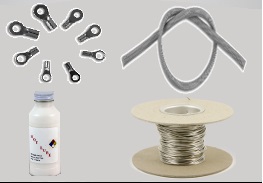
- Accessories


Products for Heating
We have a wide range of heating elements
PRODUCTS
- Cartridge Heaters
- Micro-Cartridge Heaters
- Air Process Heaters
- Sun Rod Heater
- Tubular and Finned Tubular
- Glasrope ® & Foil Heaters
- Crankcase Heaters
- Ceramic Heaters
- Strip and Finned Strip Heaters
- Etched Foil and Wire-Wound Heaters
- Band Heaters
- Temperature Controlling Devices
- Miscellaneous Heaters
- Voltage Controlling Devices
- Stock Heaters
- Accessories
- Backer Hotwatt
- / Our Products
Our Products


Click over the button to download the complete Backer Hotwatt catalog(176 pages).
Products
- Cartridge Heaters
- Micro-Cartridge Heaters
- Air Process Heaters
- Sun Rod Heater
- Tubular and Finned Tubular
- Glasrope ® & Foil Heaters
- Crankcase Heaters
- Ceramic Heaters
- Strip and Finned Strip Heaters
- Etched Foil and Wire-Wound Heaters
- Band Heaters
- Temperature Controlling Devices
- Miscellaneous Heaters
- Voltage Controlling Devices
- Stock Heaters
- Accessories
Learn more
Connect with us
Backer Hotwatt
16A Electronics Ave
Danvers, Massachusetts 01923-1011
Tel: # (978) 777-0070
Fax: # (978) 774-2409
Contact Us


2021 Backer Hotwatt. All Rights Reserved.

2017 Backer Hotwatt. All Rights Reserved.